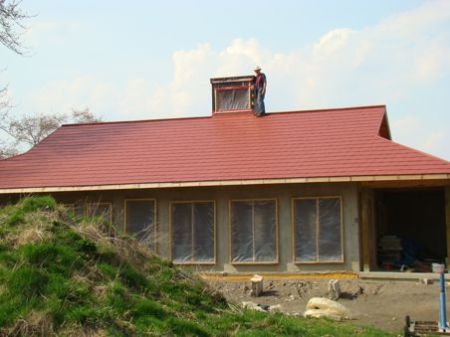
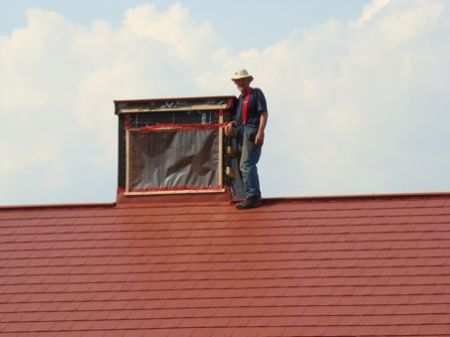
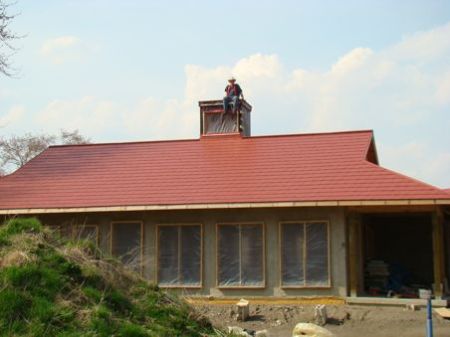
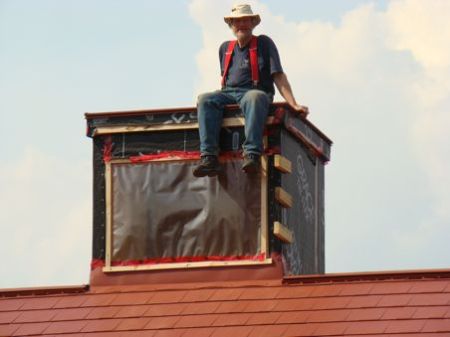
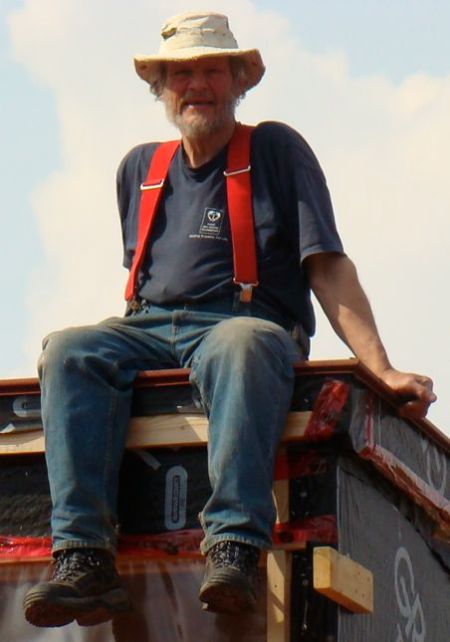
The unseasonal warmth has persisted with brief interludes of more typical early Spring temperatures for the region. The result is that I have been able to finish the putting the steel shingles on my roof. The last part of that was shingling the top of the solar chimney. I delayed going up there after discovering that all the pollen, and leaf bud fallout from the big trees around my lot rendered the roof quite slippy, which was a significant deterrent. After a couple good rains, the traction on the roof was acceptable, and I had at it. I had also been ruminating about a safe way to get from the roof ridge up onto the top of the solar chimney, and the final successful plan was to screw 3 2×4 pieces to the corner of the chimney to form a sort of ladder so I could climb up onto the flat top. It worked well, and I got the shingles on, and caulked around the edges and back down as it was getting to quitting time. So I left my ladder in place, knowing I would need to remove it later. I decided it would be fun to get pictures of me up there at the top turret of my castle, so got my neighbor down the street to come and photograph me as I was up there to take down the ladder steps. Below are pix showing the roof finished status and me on top.
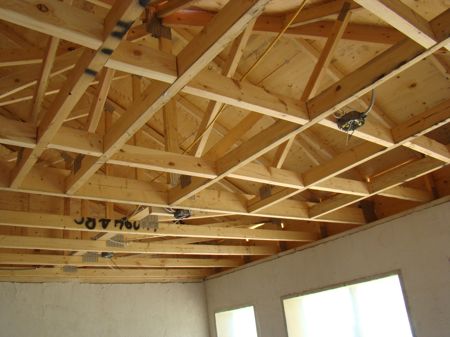
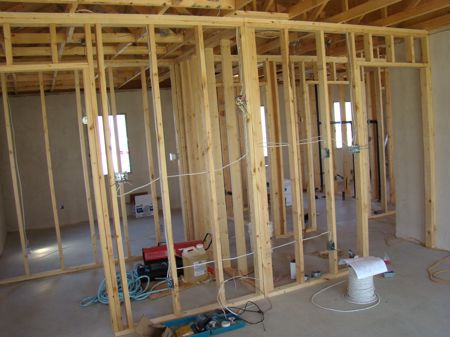
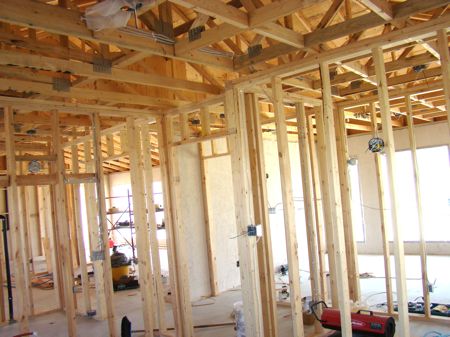
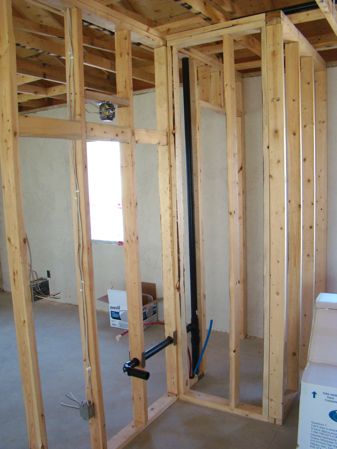
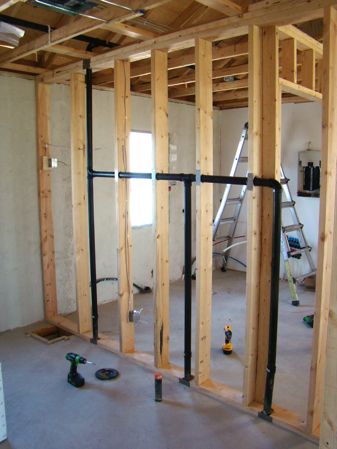
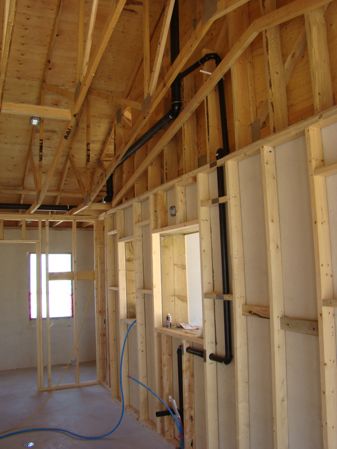
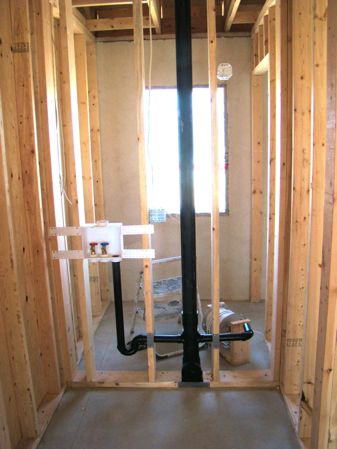
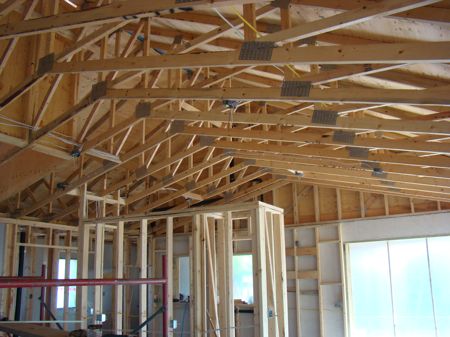
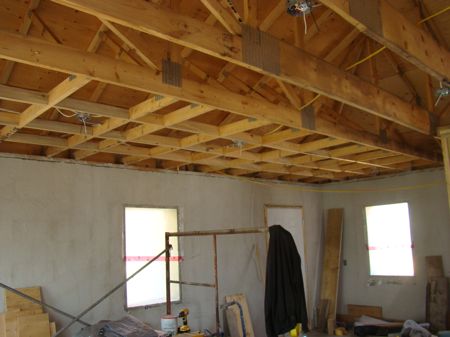
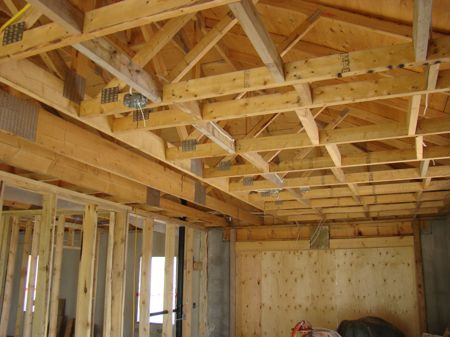
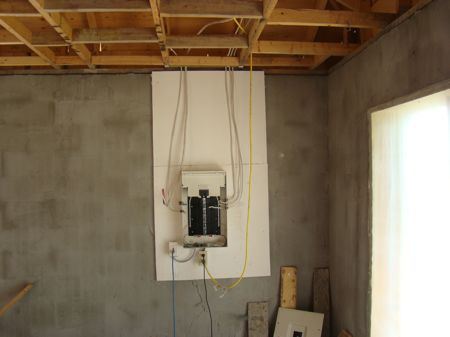
Began my work on the the electrical wiring by installing a 5/8 inch plywood wall on the east side of the the mechanical room, and painting it before installing the electrical panel and any of the wiring connecting to the panel. I then set about wiring the house, starting from the bedrooms in the west end, working my way east. Mike Noe, my consultant at CPE Ltd, suggested that I place all the electrical boxes (outlets, switches, light outlets, before putting any wire in place, so that was the starting point. Then began the actual placing of wire with careful attention to code requirements in terms of placement in the attic space and clearance to the roof deck. I then set about scheduling the installation of plumbing and gas connection, and the guys from CPE came in on April 26. They got the gas pipe through the wall into the mechanical room, and all the toilet flanges, drains, and vent pipe for all the plumbed areas. Another day will be scheduled for the water lines, and actual endpoint plumbing of the gas lines.
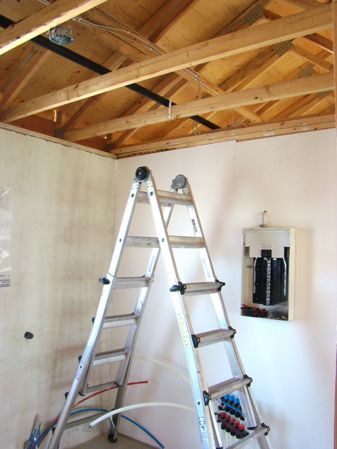
April 26, Mechanical room plywood wall painted, panel in place, and vent connector across top of mechanical room.
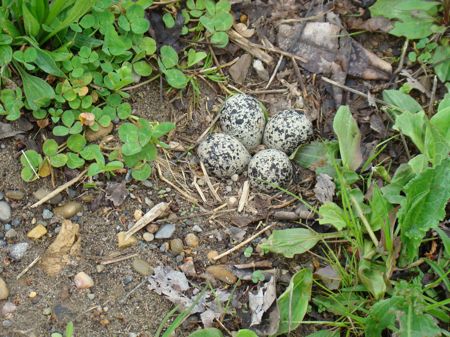
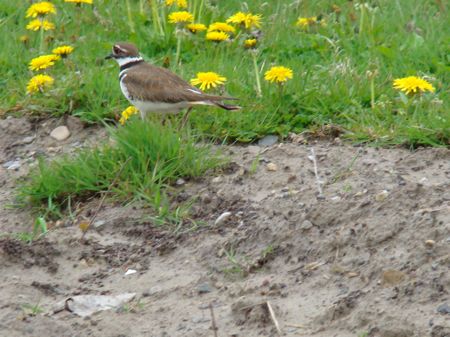
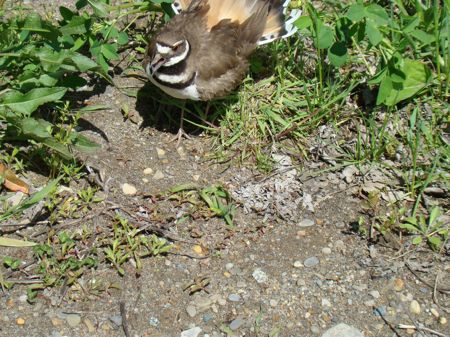
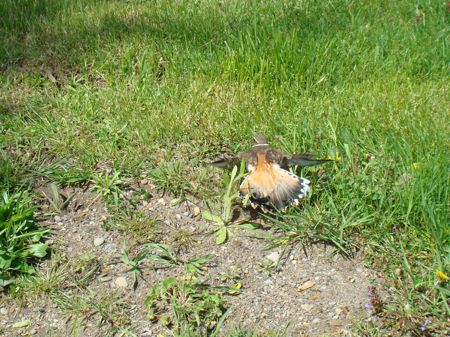
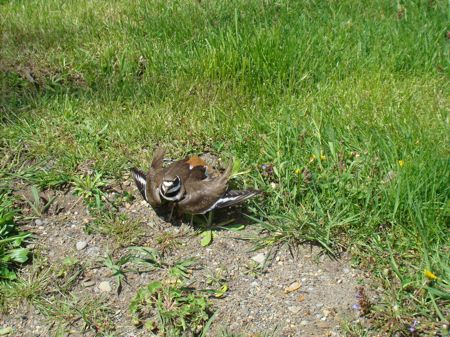
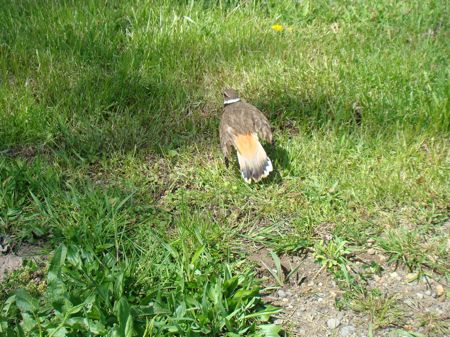
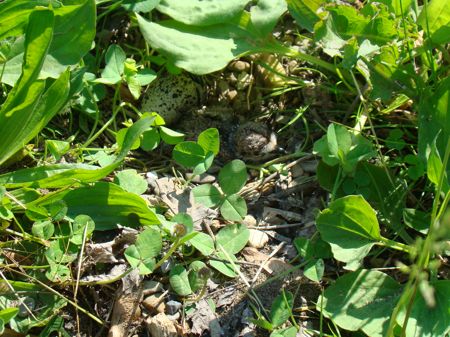
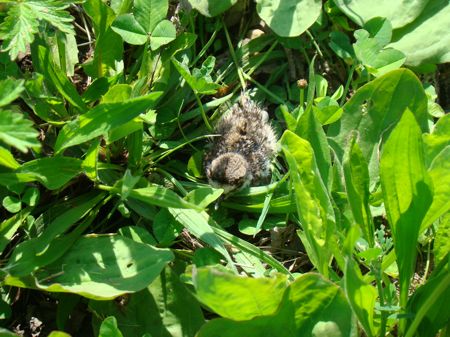
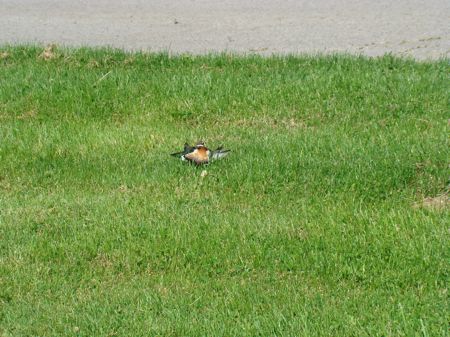
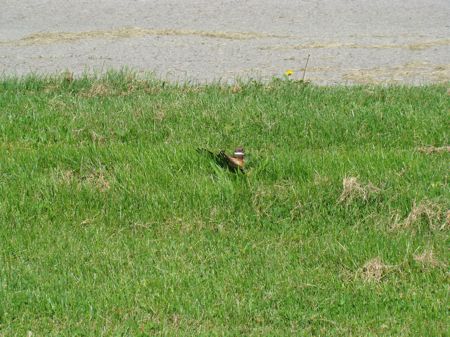
On May 1, as I was walking out to my well pump to refill the tank on the trailer, a kildeer bird appeared in front of me dragging a wing and trying to lead me off my path. I immediately realized there was a nest nearby, so set out to find it so I could avoid destroying it with law mowing or other activities. It took a while since the eggs are nearly invisible against the gravelly background.
Electrical wiring continued apace, although careful and with frequent consults with Mike Noe, who was once the building inspector for Newbury. By May 16 I had almost everything done, all the major circuits defined and complete, just a few switch circuits and light boxes for the breezeway and driveway lighting. Then I get the “pre-inspection” inspection, fix any problems, and schedule the real inspection.
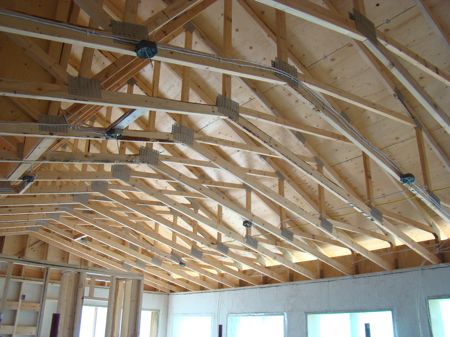
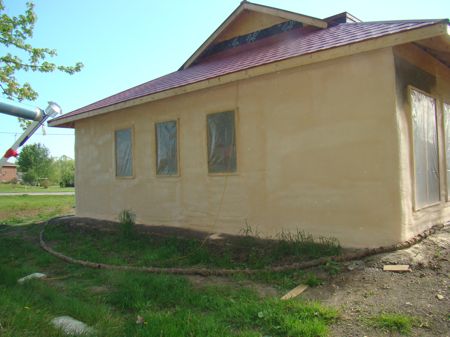
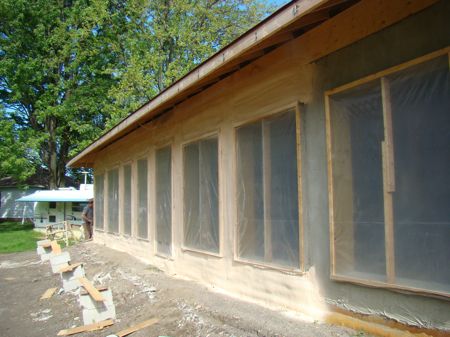
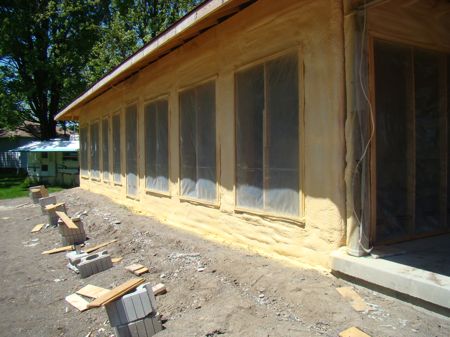
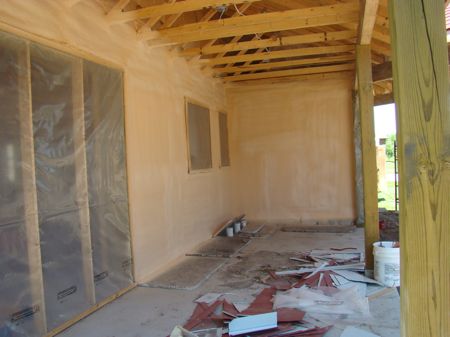
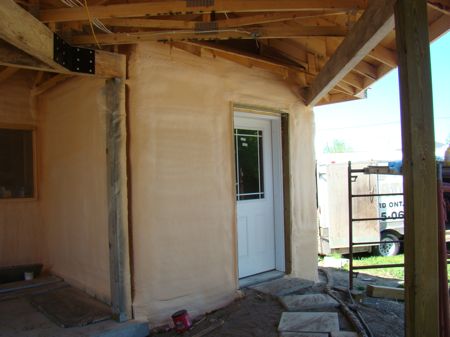
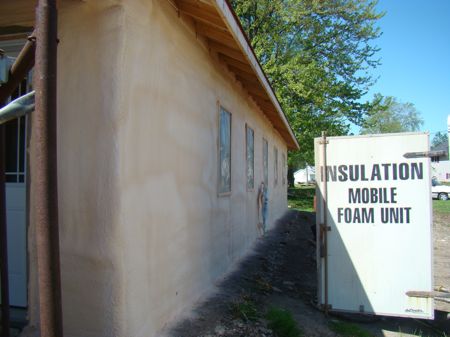
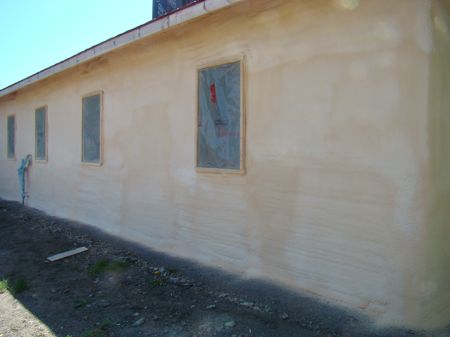
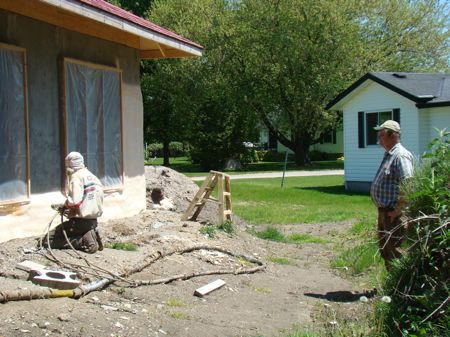
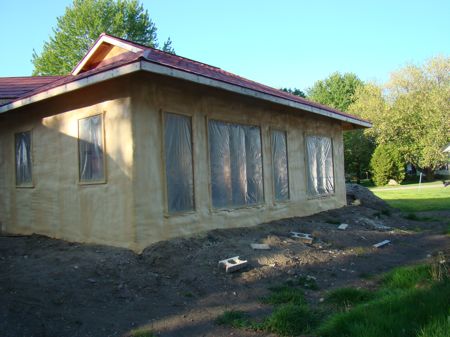
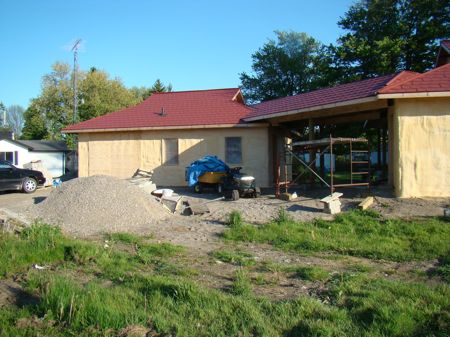
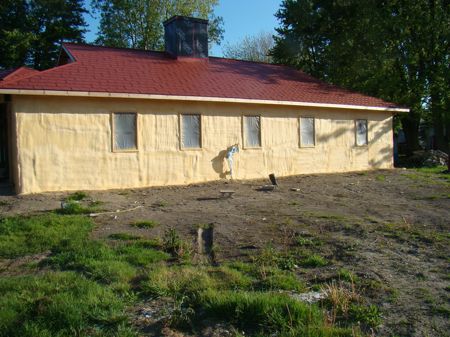
Wednesday morning May 19, I had my breakfast and headed out to the garage to turn off the main power switch and wire the circuits in the main panel. Came around the corner of the house and the foam guys were parked beside the house setting up to spray insulation. They had tapped into the main electrical panel so no fiddling with the new circuits while they were at work. I also had arrangements with Mike Noe to come and do the “pre-inspection” inspection, so a busy day. He said sometime in the morning, but didn’t really turn up till mid afternoon. Anyway the pictures below are the foam application and final product. The inspection identified a bunch of things that were not in the little Ontario Simplified codebook, so a significant number of “fixes” to be ready for real inspection, have called to schedule it for next Tuesday.
Tuesday, May 25, The ESA inspector showed up to examine my rough wiring. Did a double take when I discovered the replacement guy was covering for the regular inspector. He has a reputation of being very picky, so I was pleased at the small number of corrections he spotted and asked me to make. I have passed conditional on those changes being done. Anyway another milestone passed!
May 26, last night when I checked the kildeer nest, 4 unhatched eggs. This morning as I made my way along the front of the house, the kildeers were absolutely manic trying to make sure I didn’t approach the nest, so I walked over and checked. Sure enough only one egg left and 3 chicks scattered around the nest. That was around 9AM, and by noon the last egg had hatched. The birdies are obviously quite mobile, but when I approach, they freeze, likely in response to the cries of the parents.
Tags: birds, Electrical wiring, solar chimney, steel shingles

May 19, 2010 at 1:41 pm |
Great to see things coming together. This is one heck of a project you’ve taken on. Intimidates the hell out of me just looking at the pictures!
October 27, 2011 at 8:06 pm |
A passive solar heating house with windows on the North facade, in Ontario? Will you have some kind of insulated shutter set-up for these?
Great blog by the way, i am going to read it from one end to the other!
Stephen Young
BC
October 27, 2011 at 9:12 pm |
Stephen,
Yes insulated shutters are planned. You will notice that the north facing windows are a small area compared to the south face. And all are triple-glazed. Clear on the south and Low-E on all other windows. The shutters on the south at night will be necessary to reduce heat loss at night in winter. Even without the shutters my heating bill last winter was quite modest, and I didn’t get the hot water solar panels functional till end of February. Should be less again this winter. You do have to realize that where I am in Ontario is on the edge of what is known as the “banana belt” That zone down close to Lake Erie has the second mildest winters in Canada after Vancouver/Victoria, and doesn’t have the winter monsoons 🙂
Ted
October 27, 2011 at 10:37 pm
Like they say, Location, location, location!
Inside shutters, automated maybe?
Stephen Y.